Most modern aircraft carry an ADS-B (Automatic Dependent Surveillance - Broadcast) transmitter that puts out information about the aircraft's identification, geospatial location, speed, and heading. This information is received by ground stations and air traffic control and used as a replacement for radar-based tracking. ADS-B relies on line-of-sight communication via signals transmitted at 1090 Mhz and has a range of up to 250 nautical miles. Sites such as FlightAware, FlightRadar24, Plane Finder, RadarBox24, etc. collect ADS-B information using a vast array of ADS-B receivers, some of which are run by hobbyists, and present this information on maps with near-real-time updates. With the advent of cheap software-defined-radio (SDR) dongles, over the past few years, it has become extremely cheap and easy for amateurs to receive ADS-B signals, upload data to these sites and, in exchange, get access to premium features from these sites. This guide will walk you through a similar setup.
Choosing the SDR dongle
One of the cheapest RTLSDR RTL2832U DVB-T Tuner dongles is the one sold by RTL-SDR.com for $19.95. If you are starting off, I'd recommend getting the bundle with the dipole antenna kit for $24.95. That way you have everything you need to start receiving signals.
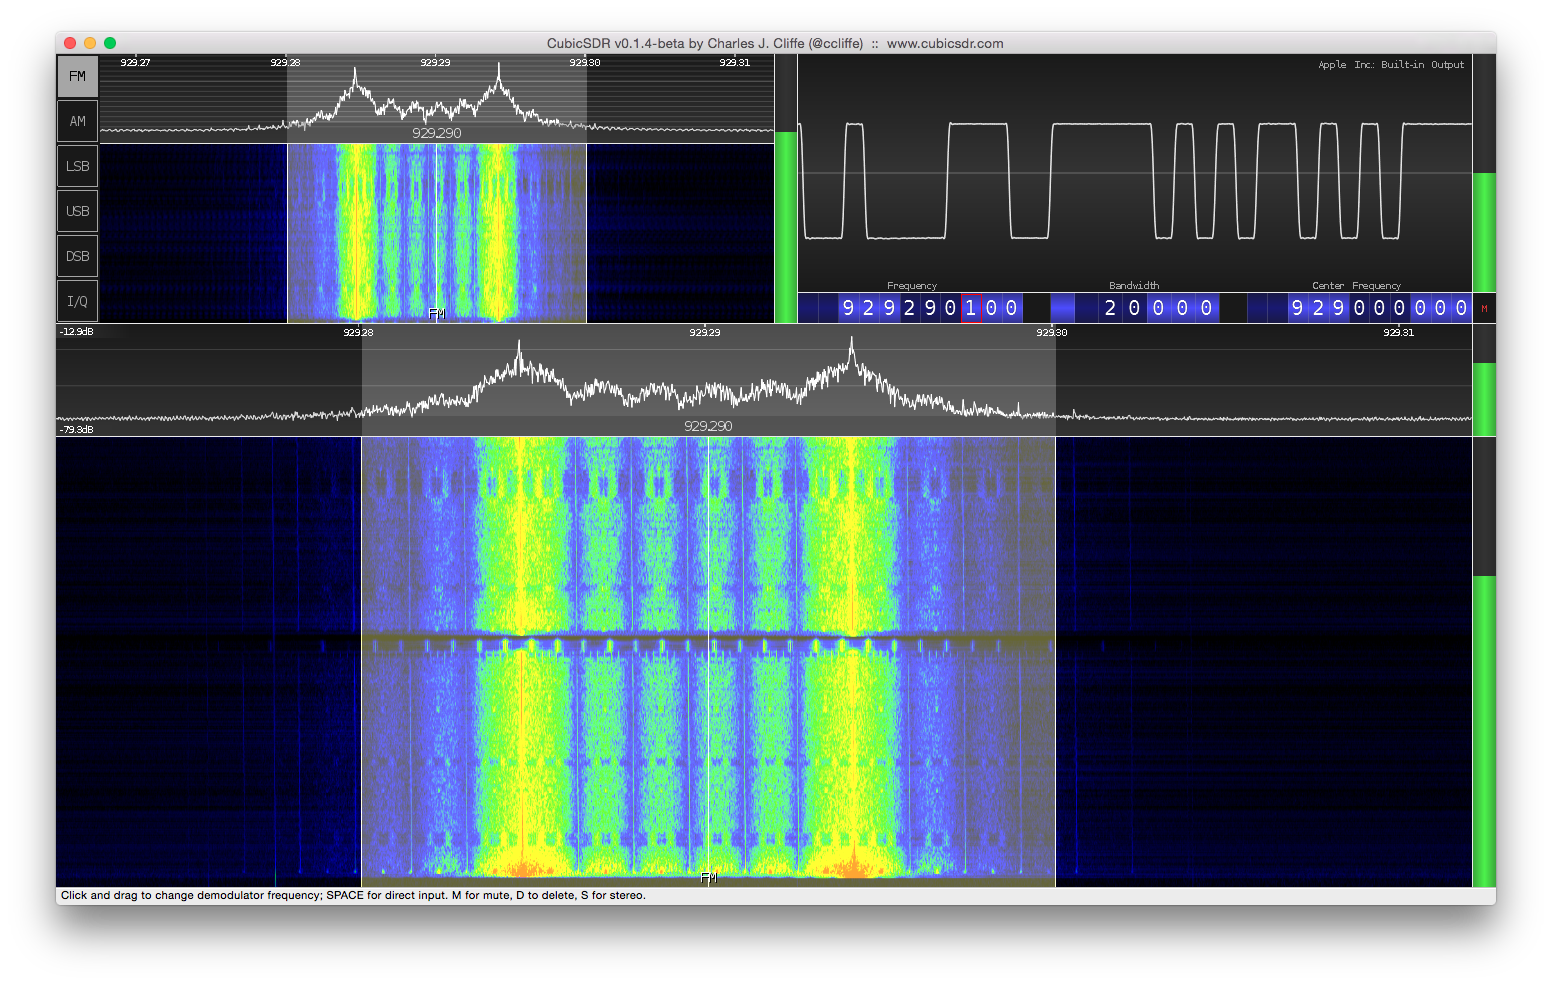
Once you receive the dongle, you can plug it into a computer and use tools like CubicSDR to explore the frequency spectrum. If you, for example, look between the 129 MHz and 137 Mhz range on AM, you are likely to find a lot of air traffic control and cockpit chatter from flights in the vicinity. This is essentially what you can listen to on sites like LiveATC.net. The things you can do with SDR are vast and are topics for future blog posts.
Dedicating a Raspberry Pi for ADS-B
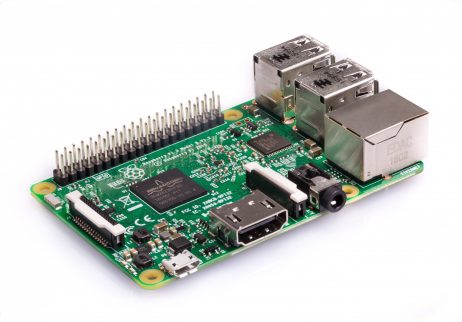
Once you have the SDR, you are ready to explore ADS-B signals on your computer. However, if you want to receive ADS-B signals round-the-clock and upload to sites like FlightAware, it is better to dedicate a Raspberry Pi for this purpose. I'd recommend getting one of the Model Bs. If you pick a model without built-in WiFi, be sure to get a WiFi dongle. You'll also need a micro USB power supply (one from an old cell phone charger will work fine) and an SD card (4GB will be fine, 8GB or more will be better).
For the rest of the guide, I'll assume you are using the Raspberry Pi but equivalent instructions will work fine on a Mac or Linux box.
PiAware and FlightAware
The people at FlightAware have gone one step ahead and made a Raspberry Pi distribution that works with SDR dongles to push data to FlightAware. This is the easiest way to get started on the Raspberry Pi. See detailed instructions on FlightAware. Along the way, you will need to collect the following pieces of information, which will be necessary to feed other sites:
- Latitude and longitude of your receiver. The easiest way to get this is via Google Maps.
- Altitude of your receiver. Use an app of your cell phone (e.g.: Android).
- The local IP address of your Raspberry Pi.
Behind the scenes, PiAware includes a program called dump1090-fa (the FlightAware version of dump1090) that dumps the ADS-B data from the receiver. You can see the JSON version of this data at /run/dump1090-fa. The program also puts out the data via the Beast protocol on port 30005 and a CSV version on port 30003. You can view these forms of the data via netcat.
nc <ip of rpi> 30005
nc <ip of rpi> 30003
The data is uploaded to FlightAware by another program called faup1090. If you have multilateration (MLAT) enabled, then fa-mlat-client also runs to participate in MLAT.
FlightAware also has a local UI which can show you what planes your receiver is "seeing". Just open up http://<ip of rpi>/dump1090-fa/ in your browser.
Once FlightAware is receiving your data, your account will automatically get upgraded to an Enterprise Account valued at $89.95/month!
FlightRadar24
Once you have dump1090 running and producing data, it is very easy to upload the same data to FlightRadar24. Log in to your Pi and run this command:
sudo bash -c "$(wget -O - http://repo.feed.flightradar24.com/install_fr24_rpi.sh)"
Select AVR (TCP) as your receiver and turn off MLAT. After this, you can visit http://<ip of rpi>:8754 to see the local view of data being sent to FlightRadar24. Once FlightRadar24 is receiving your data, your account will get upgraded to a Business account worth $499.99/year.
Plane Finder
To feed Plane Finder, follow the instructions from their site. It's as simple as running these two commands on your Pi:
wget http://client.planefinder.net/pfclient_3.7.40_armhf.deb
sudo dpkg -i pfclient_3.7.40_armhf.deb
RadarBox24
RadarBox24 is another aggregator of ADS-B data. Here's the install guide. RadarBox24 will upgrade you to a Business plan worth $39.95/month once they start receiving your data.
Miscellaneous
The generic SDR from RTL-SDR is a multi-purpose SDR capable of receiving a wide range of frequencies. If you intend to dedicate the SDR to ADS-B, it is better to add a band-pass filter for the 1090 MHz signals. FlightAware also sells an SDR with the filter included - FlightAware Pro Stick Plus. You can also get an antenna tuned to 1090 Mhz. If you are really enterprising, you can also build your own 1090 MHz antenna. Here's a video of how to go about doing this.


Comments